CLICK HERE FOR FREE BLOGGER TEMPLATES, LINK BUTTONS AND MORE! »

Thursday, January 5, 2012

Paper Niche January Monthly Kit

I'm back to show you what I created with the Paper Niche January Monthly Kit. I tried something new in this kit although I'm not much of a card maker, I ended up making two easel cards, which was surprisingly really easy to make and I do believe I've caught the bug! I'm sure you are gonna see lots more cards from me in the near future!

OK, so we will start off with a graphic 45 chipboard box that I purchased at the Paper Niche. It comes plain and ready to alter with an accordion album inside.


For the inside of the album I wanted to keep it simple since it was small so all you would have to do is add your pictures. I just distressed and inked all the edges of the papers and machine sewed around the edges.

Ok, here are the easel cards I was telling you about, I love the way you can sit them up for display but yet they close flat for an envelope.


And lastly here's a layout I did of my sister-in- law who passed away last October, Destiny. She loved her horses and thats what I wanted to convey in this layout.


Here's a close up of the chipboard letters we received in our kit. I inked them with two different colors of ink then I covered them in glossy accent to give them some dimension.


You can visit the Paper Niche Blog to see what the other designers did with there kits!

Thursday, December 15, 2011

Paper Niche December Layouts

Just wanted to share with you my December layouts for the The Paper Niche. This kit was wonderful and full of Christmas goodies!
Here's my "Snow Happy" layout created with the Technique Tuesday fundamental rings. Loved working with these, you get a lot in the package and you can alter them anyway you like.


 I altered one of the 7gypsies printers tray using mostly the simple stories line 25 days of Christmas that was in our kit. Love this line!


Here some close up of the Printers Tray


Thanks for looking, You can check out what the other design team members created here. I'm  already working on the January kit! Merry Christmas everyone!


Friday, November 4, 2011

November Kit Reveal


Its that time again . . . I get to reveal what I created with the Paper Niche November kit. Who says you can't create Summer pictures and Christmas pictures from the same kit, not me! Here's proof how versatile this kit is. First double layouts are from some Summer pictures of my daughter, niece, and nephew in the pool taken a couple of summer's ago.


By the way if you click on the layouts you will get to view it in a larger size

Here's some more beautiful photos of my sister in-law Destiny . . . .


And lastly I use the new Tattered Angels Mist-able Shadow box frame (they sell at the PaperNiche) along with my kit to highlight our snow pictures from Christmas 2009


I still have alot of the Prima Printery Collection papers left over from my kit that I can't wait to use up!
Here's a shot of everything you get in the kit . . . .


Be sure to stop by the PaperNiche Blog and see what the other designers create with this fabulous kit!

Monday, October 31, 2011

Paper Niche November Sneak Peaks

Here's some sneak peaks of the Paper Niche November Kit. I loved the paper in this kit, very versatile you can use it with so many different pictures.


Be sure to watch the Paper Niche Blog to see the other designers sneak peaks!


Wednesday, October 26, 2011


This past weekend I attended the Paper Niche "Crop Pink". We had a great time, lots of laughs and I met some new scrappy friends. I worked on some Halloween projects so I thought I would share with you what I made . . .


I made this spooky shadow box using the Tim Holtz configuration boxes. I just glued the smaller boxes on the outside of the larger box, I didn't even use all of them. I painted the boxes black then I glimmer misted and added the glimmer glam to the Tim Holtz Halloween tissue tape and covered the edges. I added lots of little things, some found at the Niche and some were found at Michael's in the Halloween decorating section. I turned my skeleton into a girl by making her a dress and crown and of course some "bling" around the neck! Love how this came out . . .  I'm gonna do a Christmas one and my mind is on overload with ideas, can't wait to get started on it!

Here are some more photos . . .  I also did an album with some of the same papers, Pink Paislee Phantom line. I ran out of daylight when taking these photos so I will post photos of the album within a day or two.


Wednesday, October 12, 2011

Paper Niche October Kit

Its time for my October Paper Niche kit reveal . . . . loved working with this kit. I love the diversity of the papers and embellishments. You can check out the other design members projects here, and Sharon does a video reveal for everyone so you can really get a feel for what the kit is like. I don't think you would know that these four layouts came from the same kit, each one is different and unique.


This is a picture of my Summer when she was just five years old. I wanted this layout to have a shadow box feel so I have the My Minds Eye paper posted on foam core to make it pop up. The majority of the flowers came in the kit and the little ones are from my tutorial I showed you using a hot glue gun.


I think the Bo Bunny collection goes perfect with the Older photos you may have. All of these embellishments came in the kit, flowers and all. I dipped some of the flowers in alcohol inks to change the color to match the papers. I did add the paper rosettes. The little nostalgic advertisements was the Echo Park Happy Days paper found in the kit. I just cut out the ones I wanted inked them and then heat embossed them.

These next two layouts are pictures of my sister in law, Destiny who passed away last year at the age of 17 from a brain tumor. I'm making a book for her family.


The blue flowers comes in the kit, I made the white rose and the two small spiral roses. The huge flourish came from one of the papers found in the kit, I just fussy cut it and added some sparkle.


I made the flowers on this layout . . .  so easy it would scare you. Then I just glimmer misted them and added stickles. Lots of distressing and paper tearing on this one.

Thanks for stopping by if you have any questions on what items I used or how I did something just let me know I love the feedback!


Monday, October 3, 2011

Glue Flowers

OK, as I promised you all here's a tutorial on how I made the cute little flowers as shown in the Paper Niche October sneak peak.

Let me first start out by saying I cannot take credit for coming up with this idea, that belongs to Jo from Itsmycreativeworld. I've embedded her video below. So watch that first, she does a great job of explaining how do everything. To listen to the Video just scroll all the way down to the bottom of my page and pause the music player.


And here's a few pictures of my process

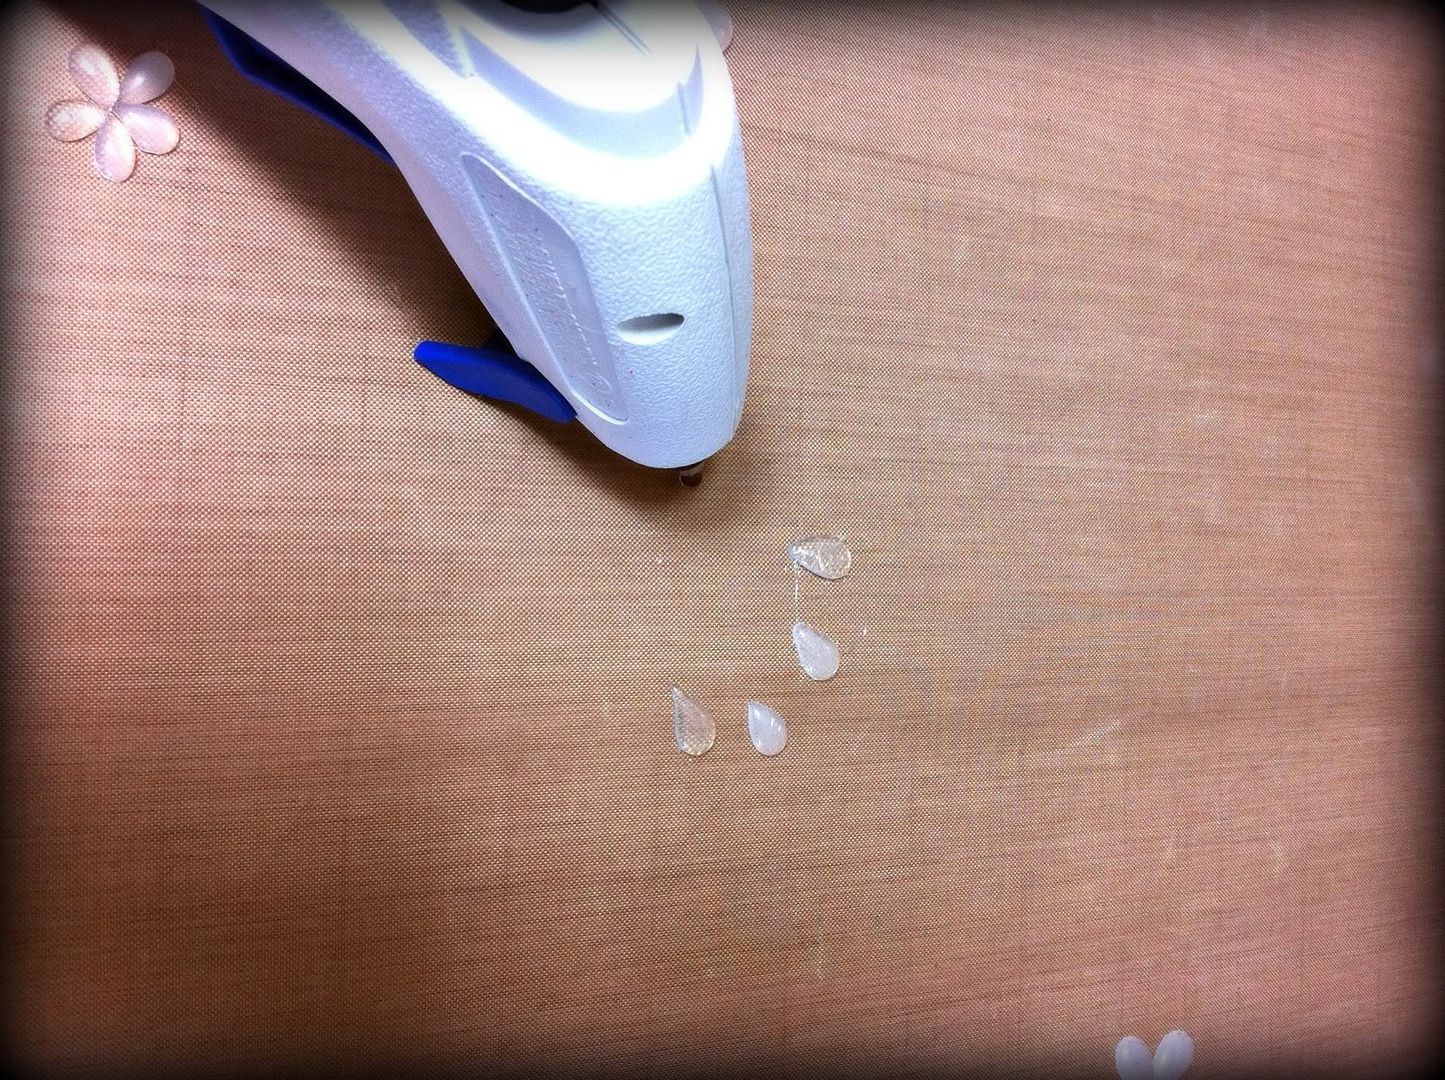
First I just make a bunch of random petals, this takes some practice and keep in mind how big you want your petals to be.


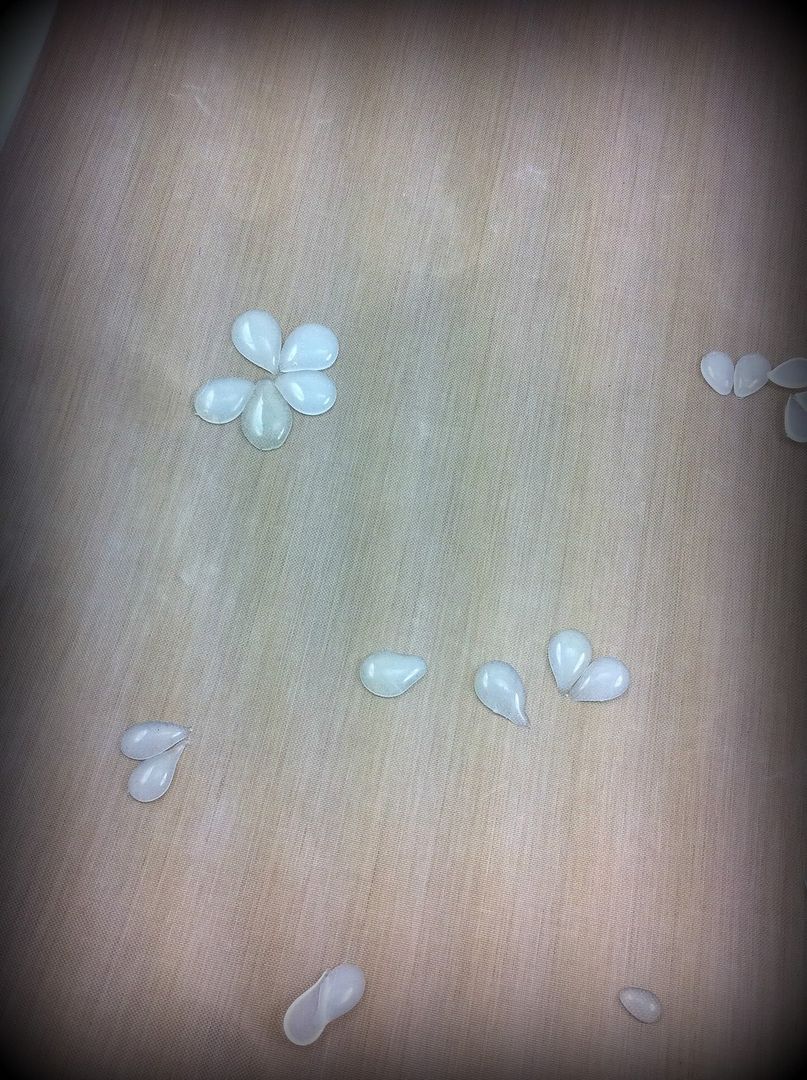
Next, I start by putting my petals together that are similar in size and making my flowers. When I get them all together, that's when I put just a little hot glue in the center to hole them all together.


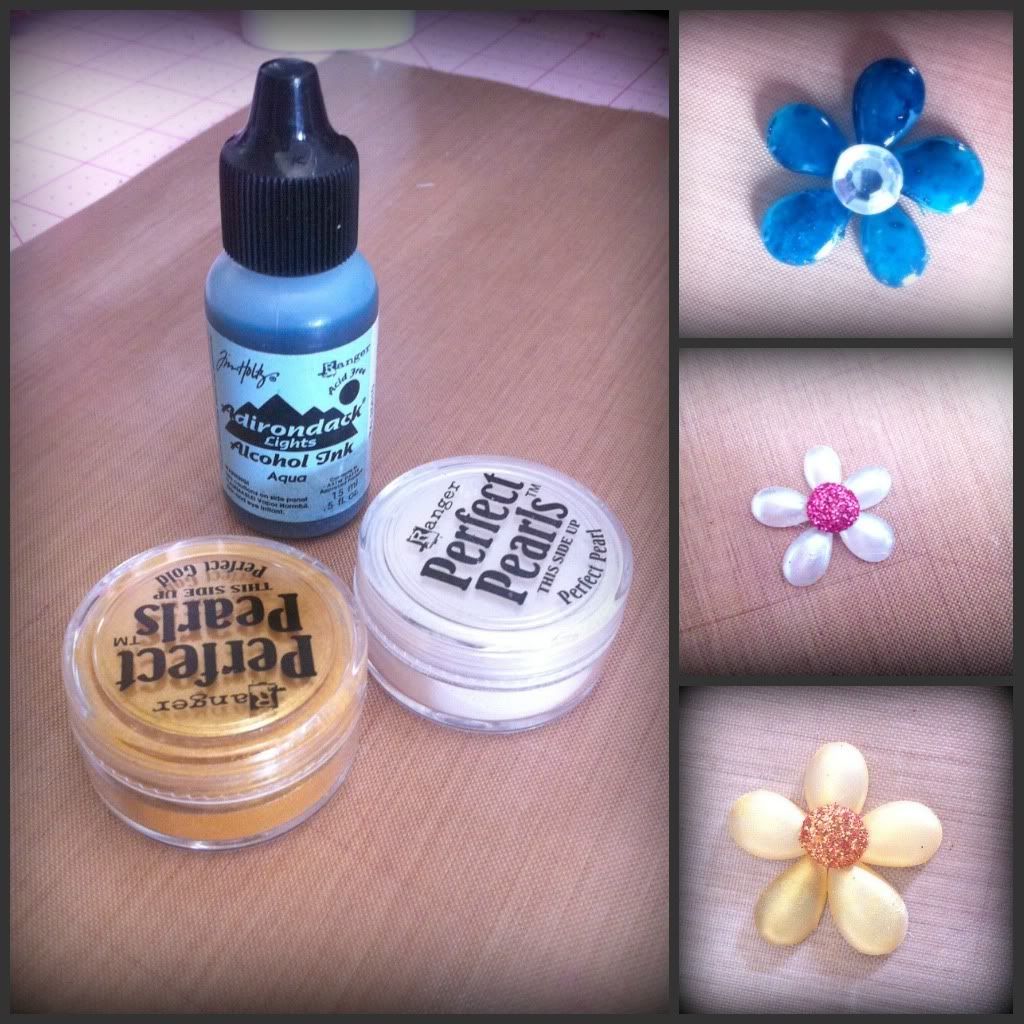
 Now is when you can rub your perfect pearls on your petals or you can try just dropping some alcohol inks right on them. It you want the color to be more transparent when applying the alcohol inks, just put the ink down on your craft mat and set your petals on top of it so the color just goes on the bottom. But, you do have to make sure you remove all the little glue string off your petals before applying the alcohol inks, because it does show up more than with the perfect pearls.


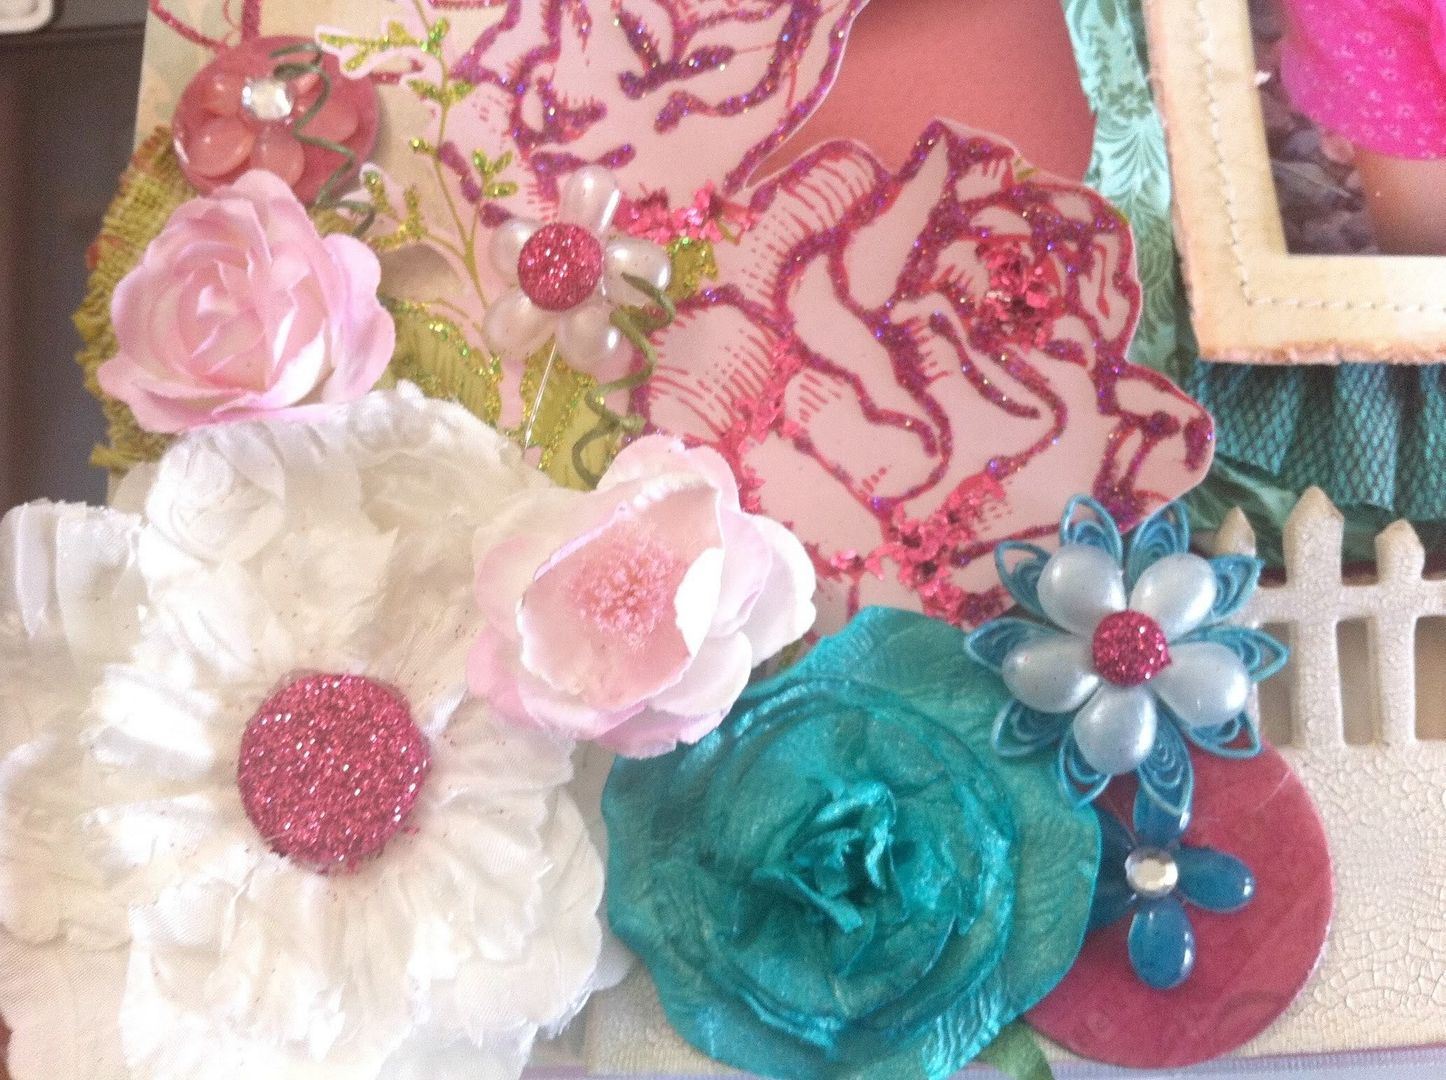
In this layout you can see I made 3 different flowers. Two are the same I just put one on a stick pin like June  did in her video. Two I used perfect pearls on and the other two I applied alcohol inks. You could also make your own little flat back pearls or even hearts and butterflies using the same technique of the shape of the petals. 


I hope you all give this a try and post a comment letting me know how you like it!