CLICK HERE FOR FREE BLOGGER TEMPLATES, LINK BUTTONS AND MORE! »
Showing posts with label tutorial. Show all posts

Monday, October 3, 2011

Glue Flowers

OK, as I promised you all here's a tutorial on how I made the cute little flowers as shown in the Paper Niche October sneak peak.

Let me first start out by saying I cannot take credit for coming up with this idea, that belongs to Jo from Itsmycreativeworld. I've embedded her video below. So watch that first, she does a great job of explaining how do everything. To listen to the Video just scroll all the way down to the bottom of my page and pause the music player.


And here's a few pictures of my process

First I just make a bunch of random petals, this takes some practice and keep in mind how big you want your petals to be.
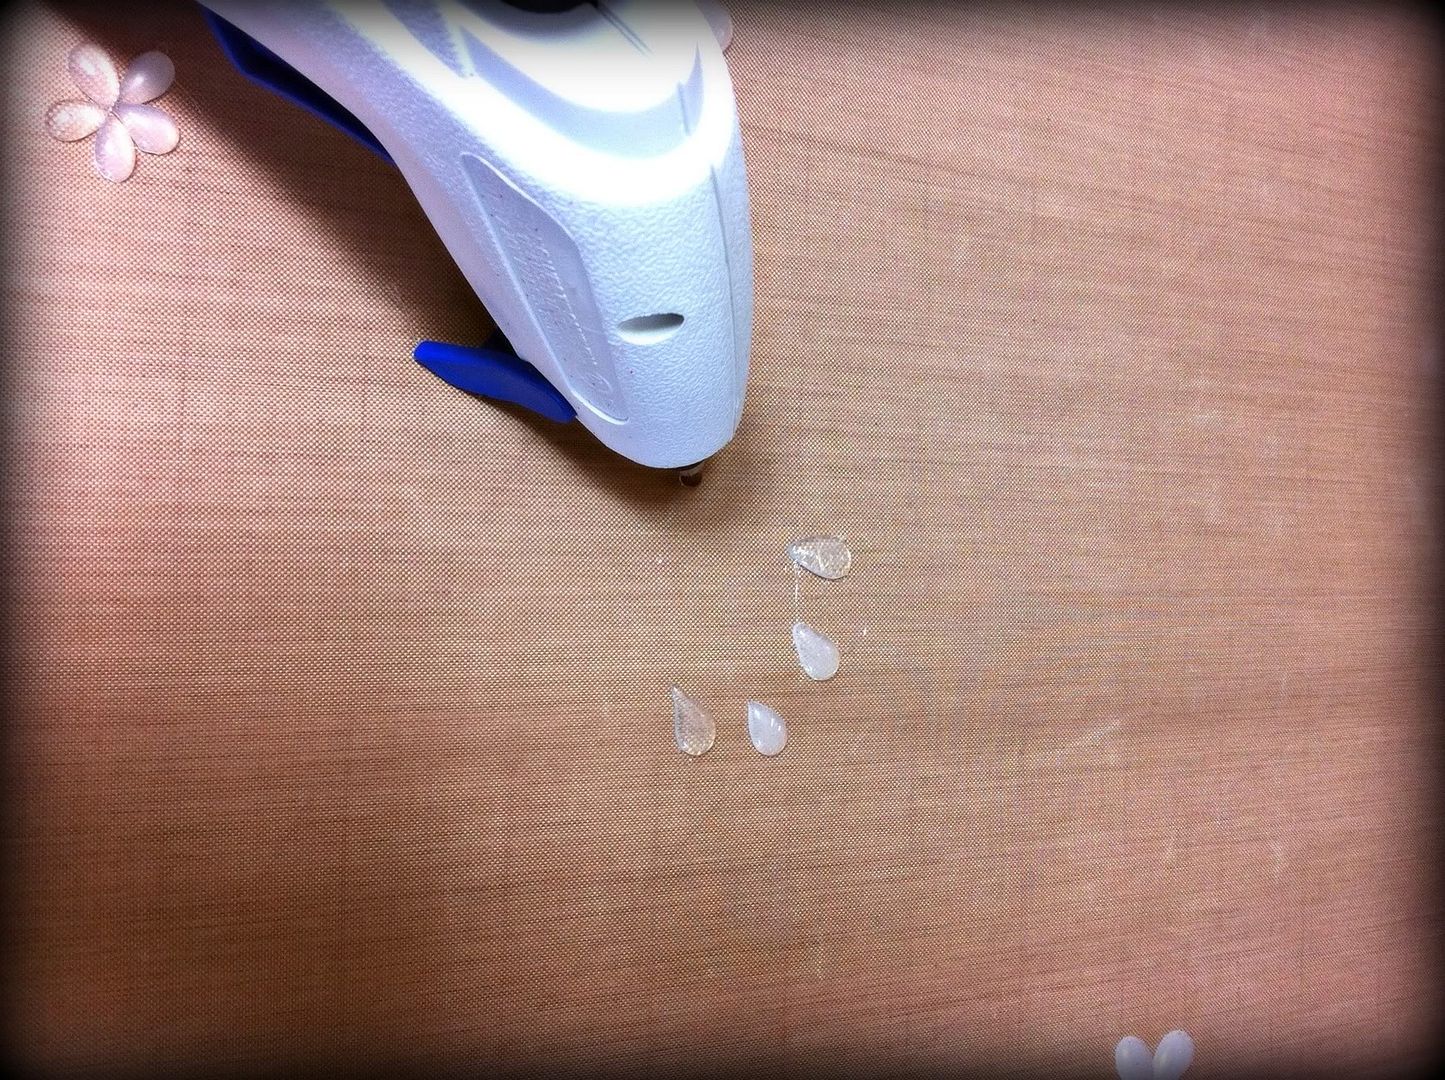


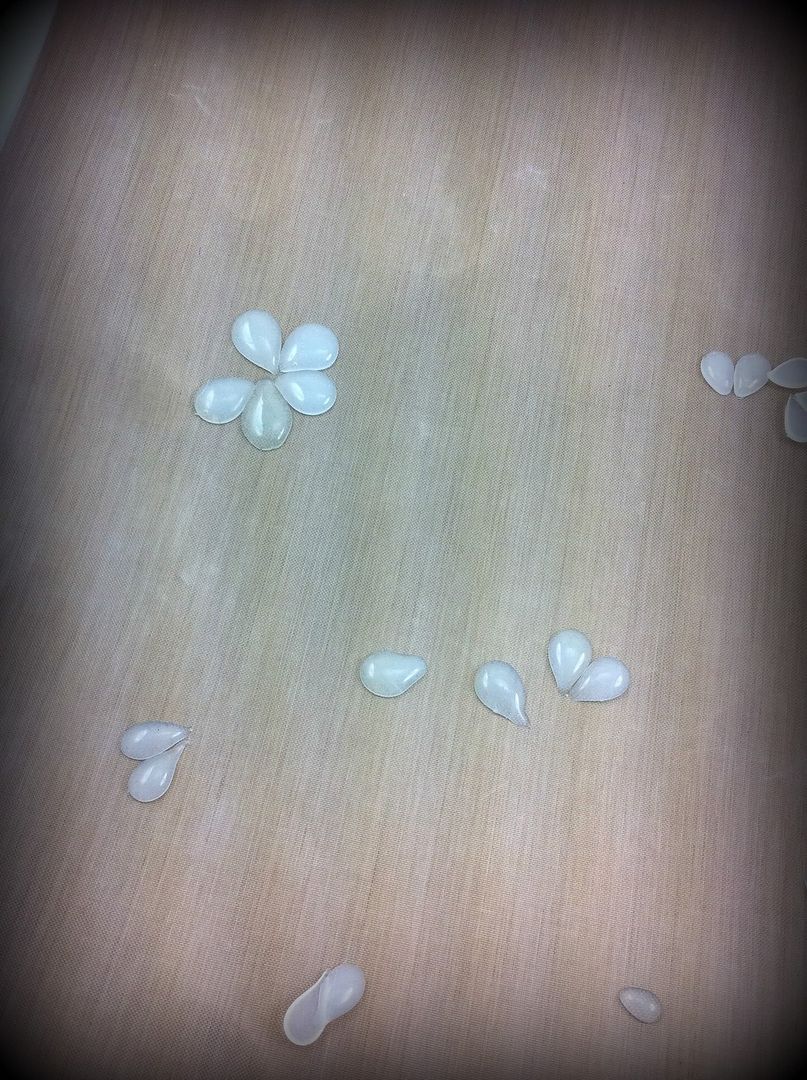
Next, I start by putting my petals together that are similar in size and making my flowers. When I get them all together, that's when I put just a little hot glue in the center to hole them all together.


 Now is when you can rub your perfect pearls on your petals or you can try just dropping some alcohol inks right on them. It you want the color to be more transparent when applying the alcohol inks, just put the ink down on your craft mat and set your petals on top of it so the color just goes on the bottom. But, you do have to make sure you remove all the little glue string off your petals before applying the alcohol inks, because it does show up more than with the perfect pearls.
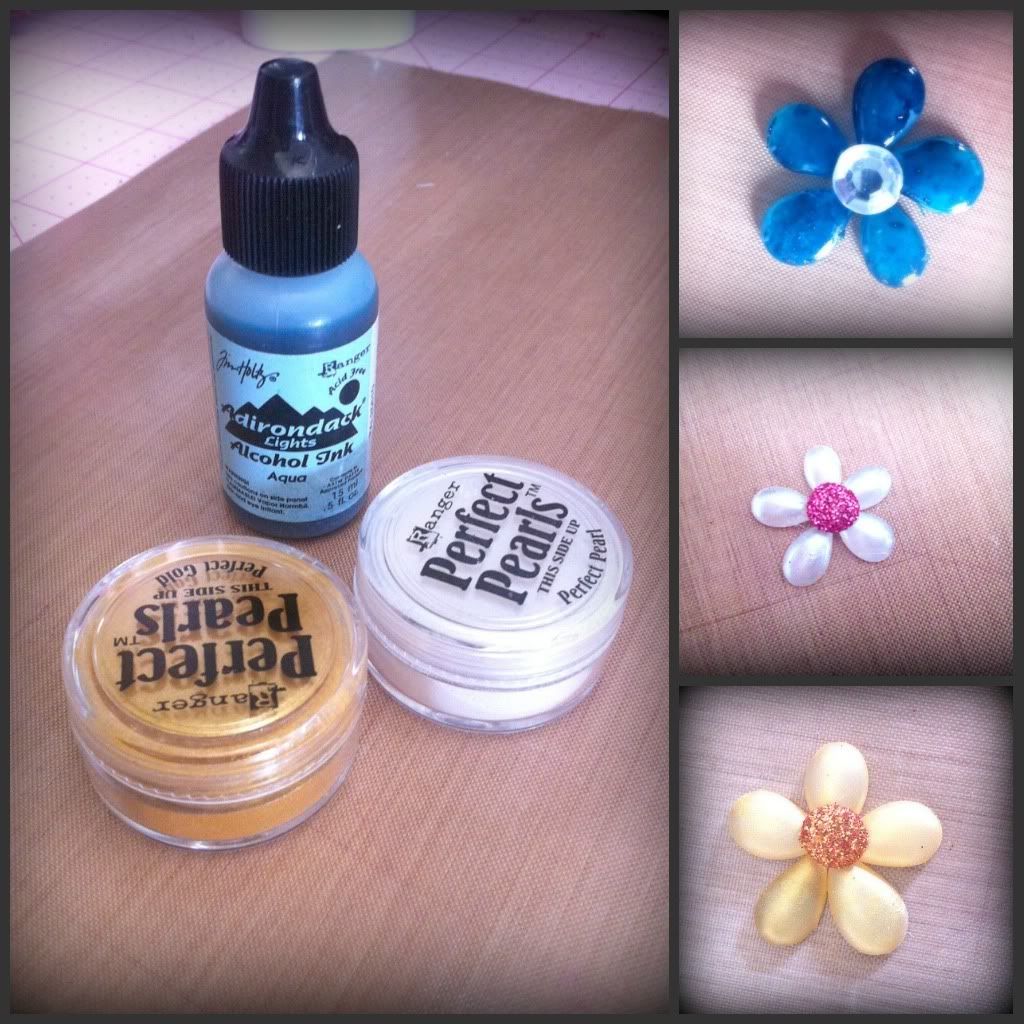


In this layout you can see I made 3 different flowers. Two are the same I just put one on a stick pin like June  did in her video. Two I used perfect pearls on and the other two I applied alcohol inks. You could also make your own little flat back pearls or even hearts and butterflies using the same technique of the shape of the petals. 
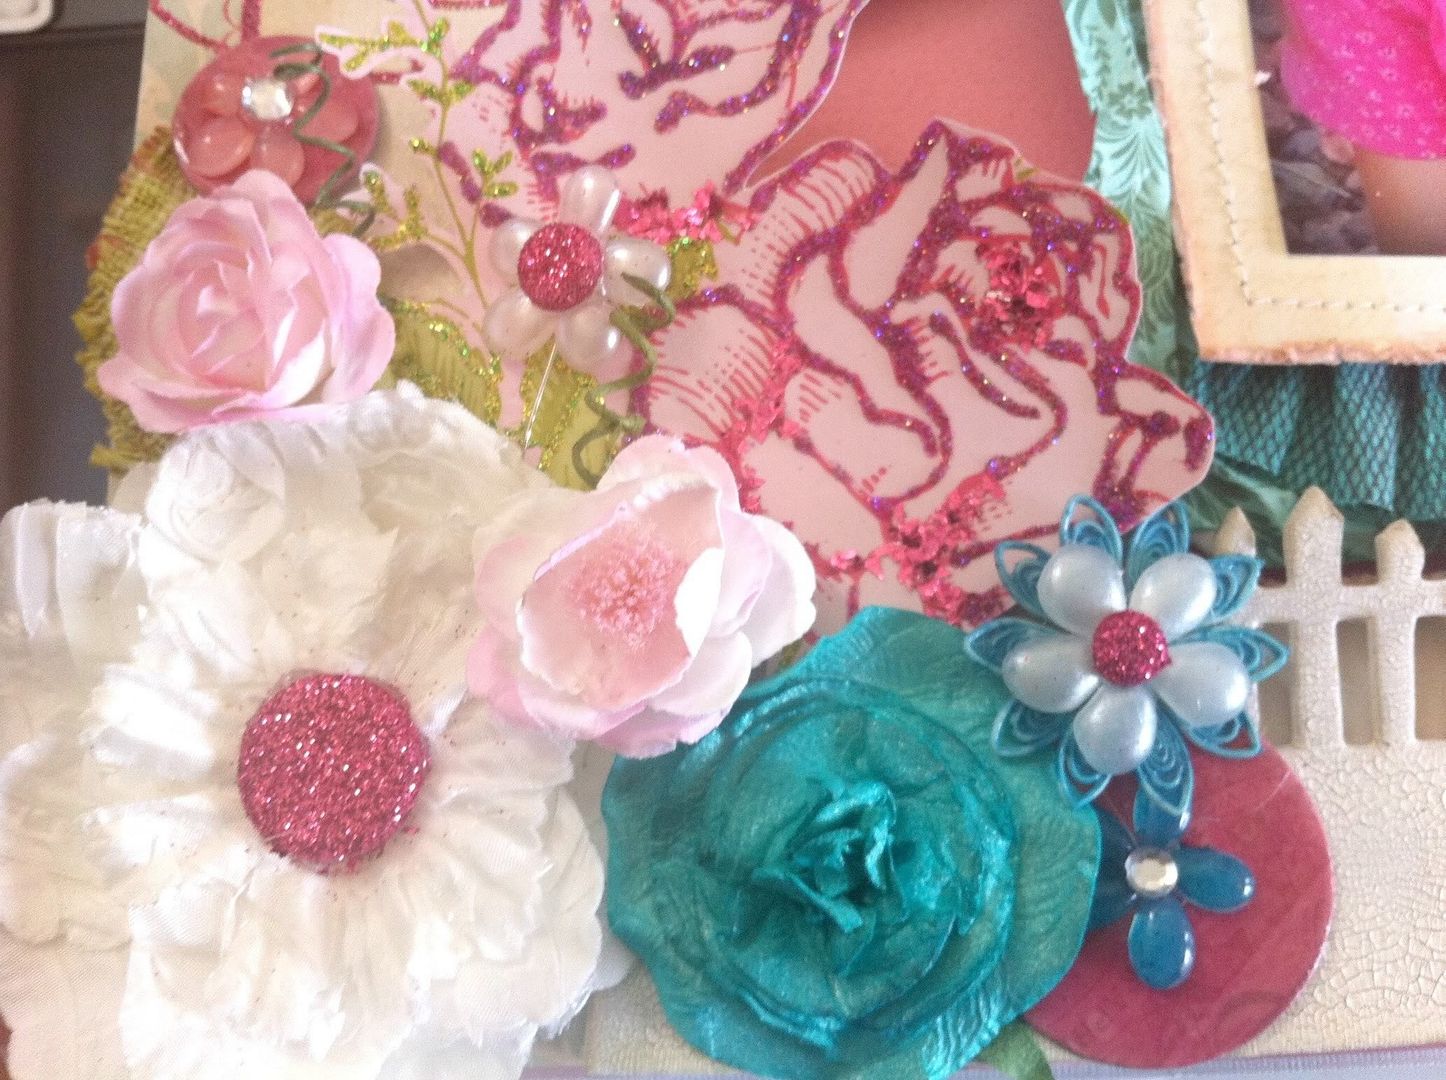


I hope you all give this a try and post a comment letting me know how you like it! 


Wednesday, December 8, 2010

Handmade Bird Ornament

The other day while shopping I came upon some cool looking handmade bird ornaments selling for $10 and I thought, I could make that so I did . . . . and it came out like this . . .


Which came out OK but I wanted to bump it up a notch so I did some browsing on the internet for some inspiration and came across this . . .blog. She made some cool looking bird ornaments too so I took some of what she did and added it to my creation and voila This is what I came up with. . .


I'm going to share with you all how I created these . . .

First step get some old book paper, you could also use cardstock, music sheets, just whatever you have. Next cut out your bird three times. If your using book paper which is thin you could layer three pieces and cut it out at the same time. At the Under the Table and Dreaming Blog She gives you a jpeg that you can print out and use as a template. I used just a chipboard of a bird I had in my stash. I don't know where it came from. But I traced it and scanned it all if you want you can print it out and use it as your template.My Bird Template If you print out my template you have to scale it to 150% If you don't know how to do this just email me and I'll talk you through it. After you get your three birds cut out mount one of them to some chipboard and cut it out to make it sturdy.


For the wings I just drew them by freehand and cut them out. You need two of these.


Next your gonna want to glue your other two birds on top of your chipboard bird, but you only want to secure it in the middle because your going to be curling the ends. I attached mine with the Helmer zap dots , there like foam mounting squares but better because they are clear! I used a total of 8 of these 2 on top of each other on one side 2 on the other then layered another bird and 2 on one side and 2 on the other side.
Then I used just two clear squares to layer the birds wings going in different directions.I didn't want the wings as high so I just used one clear square for each wing.


Next I used a pencil and curled the wings, I curled one layer up and one down. Then I applied a thin layer of glue all along the edges and applied some Martha Stewart tinsel glitter in white gold all along the edges. This tensile glitter was sold in special sampler holiday packs. It comes in several colors.


Then I punched a hole in the first layer of the bird, the one glued to the chipboard behind all the other layers so I could insert a ribbon for hanging.I think these would be great to hang off a present when giving a gift too. I think it would be fairly easy to make a bunch of these at one time. If anyone decides to make one please share and I'll post your picture on here! Oh, I almost forgot, I used a little pearl for the birds eye!

Wednesday, September 30, 2009

Glitter Cups

Last week I made these Halloween Glitter Cups so I thought I would post a tutorial on how to make them. I know its not Rocket Science but I've always wanted to do a tutorial! I originally found this blog, Over the Tipsy Top Design on glitter cups, I thought they were so cool and decided to try making my own.

On there blog they use sonic cups, I love sonic but we don't have any sonics in Florida, so I'm using a Styrofoam cup from Chick-fil-a. You have to use a Styrofoam cup because any other kind will sweat and ruin your hard work. You can used just one color of glitter but I decided to mix it up and use several colors.


Ok, so your gonna need a Styrofoam cup, modge podge, sponge applicators, and some fine glitter. I used the Martha Stewart glitter in Halloween Colors.

First Step apply a thin coat of Modge Podge on your cup, I wanted to do the orange and red on top and black on bottom, but you can do one color all over if you want. I actually should of done the bottom first and the top second, it would of made it easier, but ya live and learn!


Second Step is to apply your glitter, let dry for a few hours, then re-apply modge podge and glitter a second time! Let dry over night then you can spray with a gloss sealer/finisher. Just make sure its a gloss finish.


Now noticed I left the top rim unglittered, this is if you plan on drinking out of it,but for cup I'm not going to worry about it because I'm filling my cup with candy to give as a gift.

The next step is to Decorate! This is the fun part you can let your imagination go wild and don't be afraid to used a glue gun on here either.

I made a tag to put on mine . . . .


and finished off with some Halloween Ribbon and filled it with halloween candy. You can do these cups for birthdays,graduations,Easter . . . I've got so many more ideas on ways to decorate them, can't wait to make some more!


I was playing around and tried to give my picture some spooky effects!


Tuesday, September 8, 2009

No Excuses!

Ok, my friends you all tell me I need to teach you how to digital scrapbook or hybrid scrapbook. There's tons of resources available to get you all started and teach you the basics of digital scrapbooking! Here's one of my favorite Digital Scrapbook Teacher's and here's a link to one of her free how to video tutorials! Its super simple, she gives you a pre-made page to start with all you have to do is add a photo and some journaling! Here's my layout I used taking her class.