


Let me first start out by saying I cannot take credit for coming up with this idea, that belongs to Jo from Itsmycreativeworld. I've embedded her video below. So watch that first, she does a great job of explaining how do everything. To listen to the Video just scroll all the way down to the bottom of my page and pause the music player.
And here's a few pictures of my process
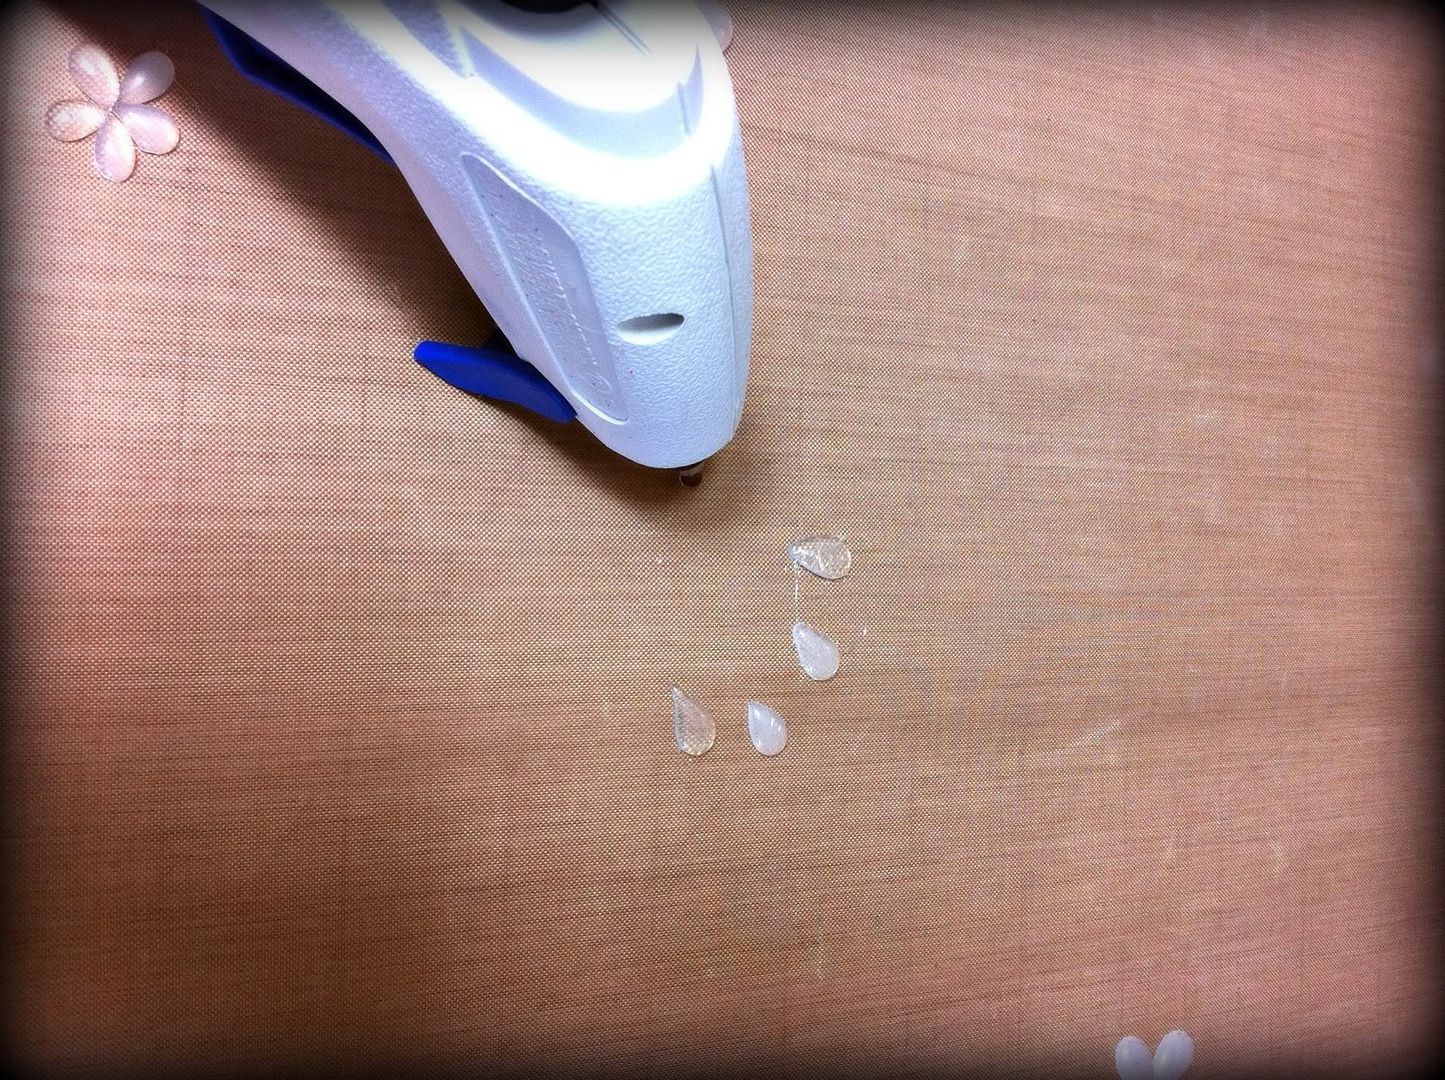
First I just make a bunch of random petals, this takes some practice and keep in mind how big you want your petals to be.
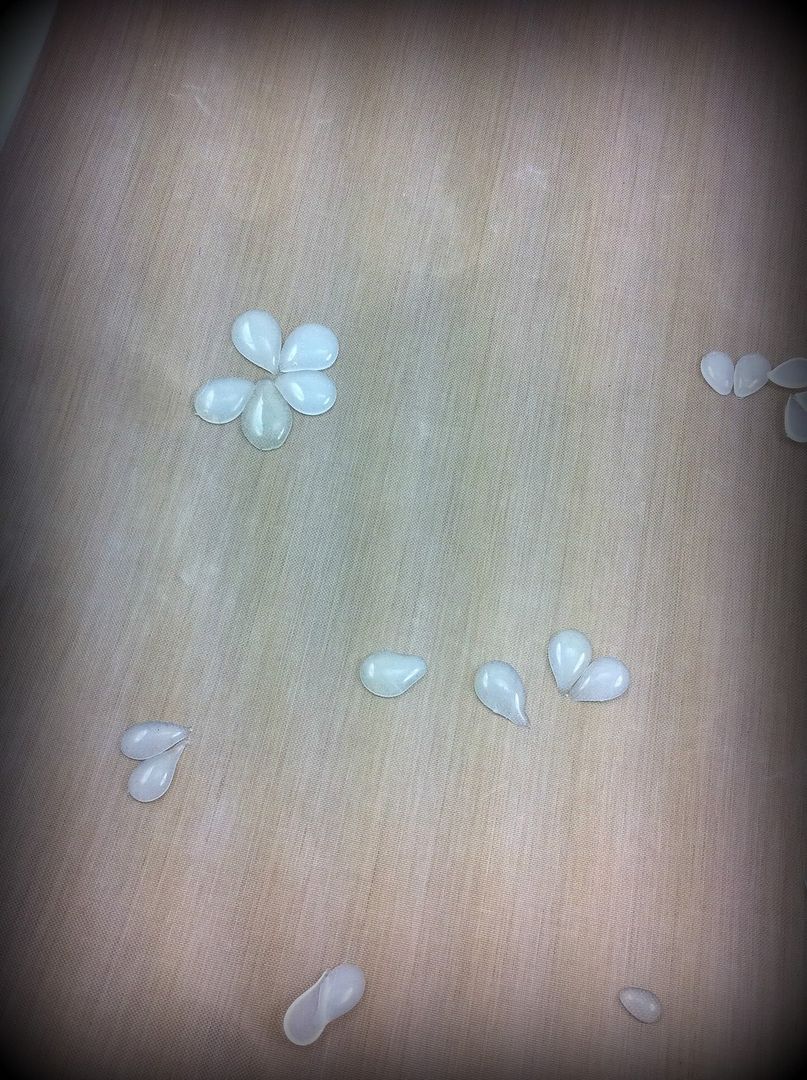
Next, I start by putting my petals together that are similar in size and making my flowers. When I get them all together, that's when I put just a little hot glue in the center to hole them all together.
Now is when you can rub your perfect pearls on your petals or you can try just dropping some alcohol inks right on them. It you want the color to be more transparent when applying the alcohol inks, just put the ink down on your craft mat and set your petals on top of it so the color just goes on the bottom. But, you do have to make sure you remove all the little glue string off your petals before applying the alcohol inks, because it does show up more than with the perfect pearls.
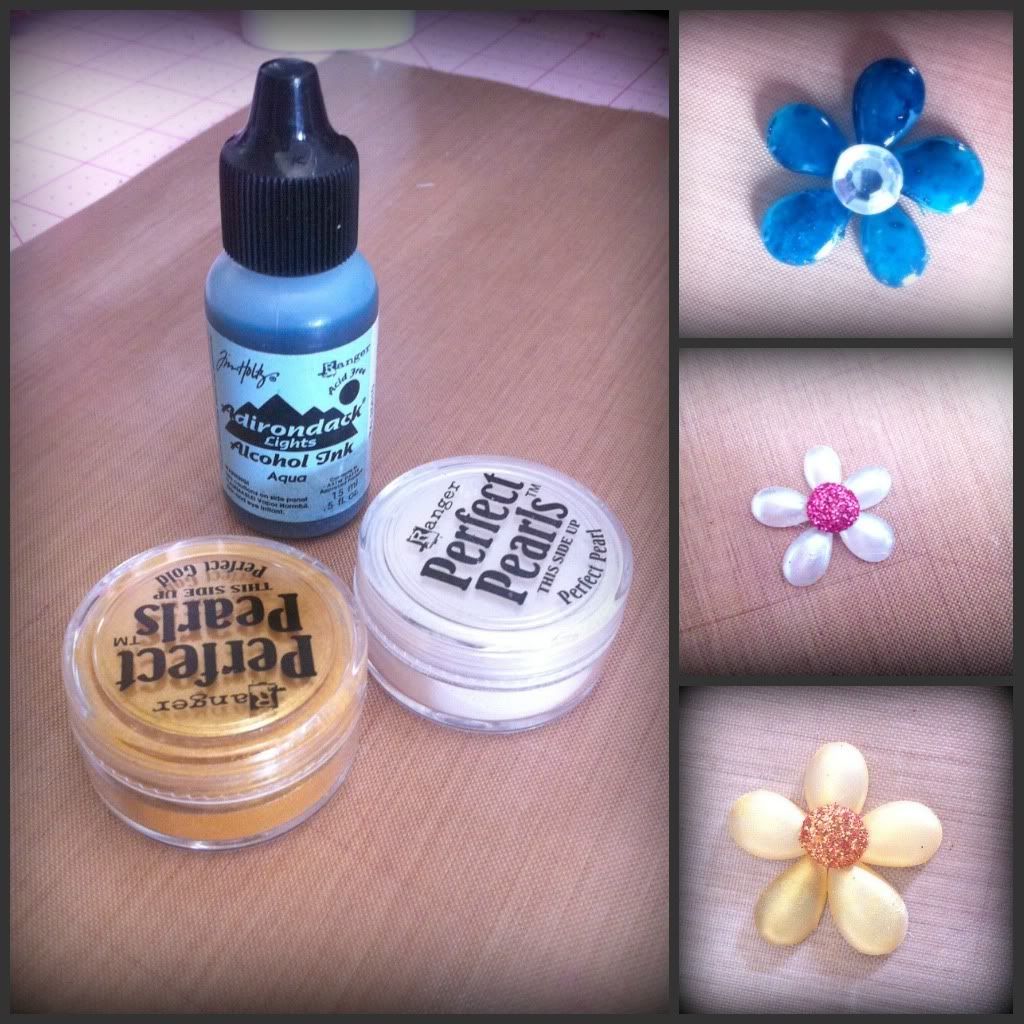
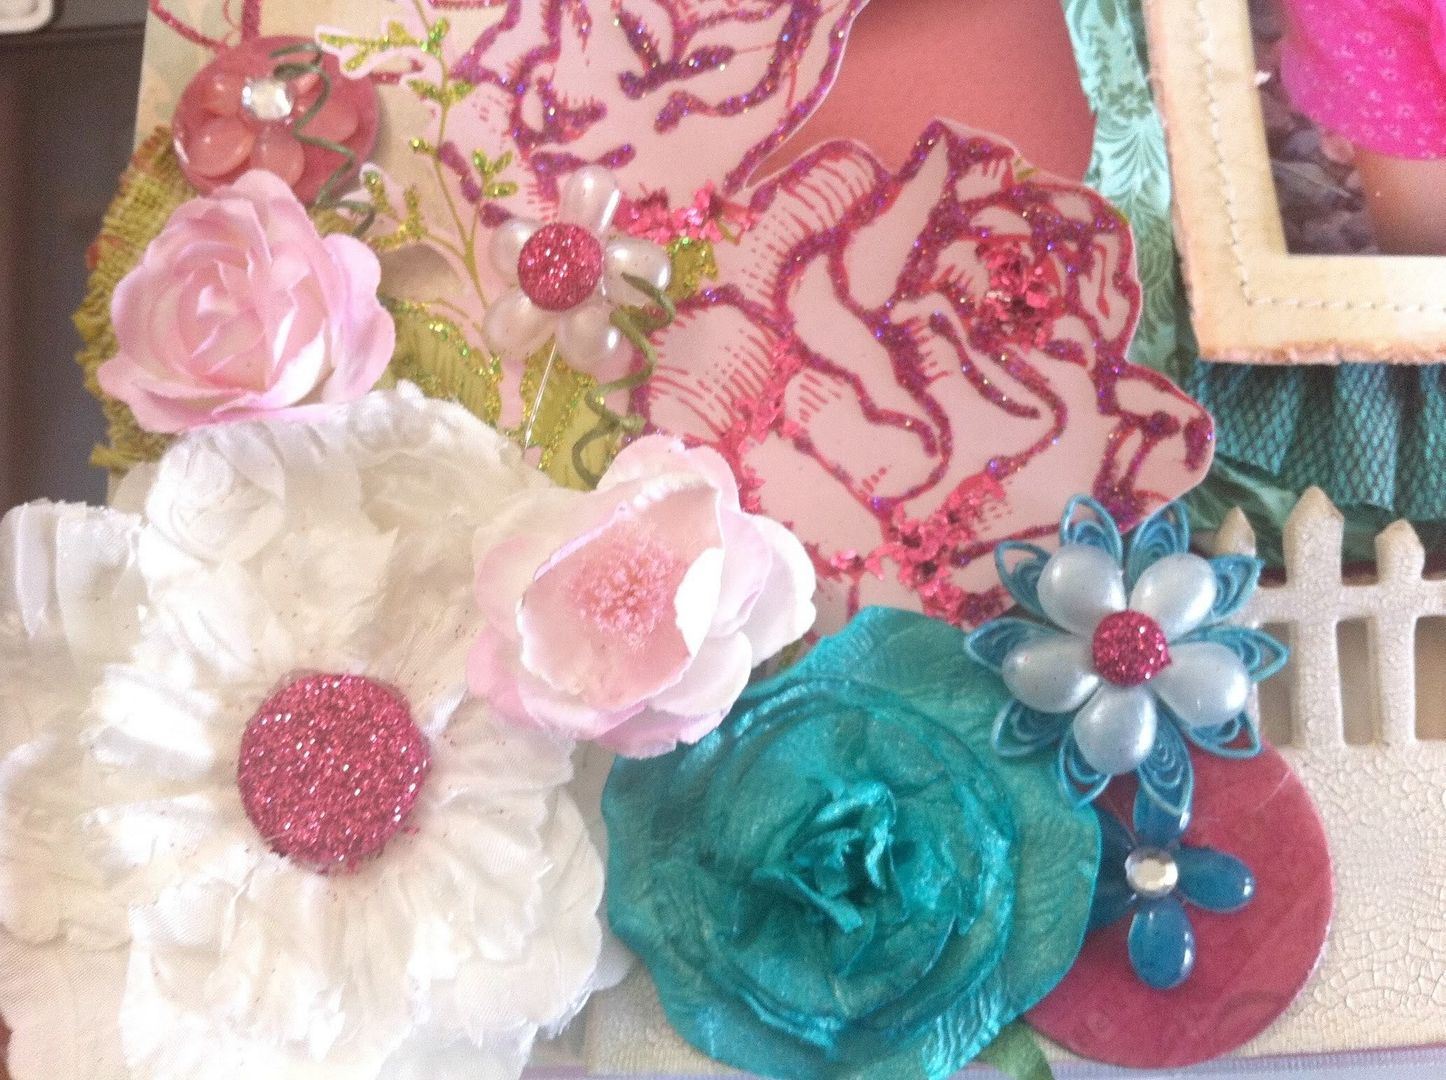
In this layout you can see I made 3 different flowers. Two are the same I just put one on a stick pin like June did in her video. Two I used perfect pearls on and the other two I applied alcohol inks. You could also make your own little flat back pearls or even hearts and butterflies using the same technique of the shape of the petals.
I hope you all give this a try and post a comment letting me know how you like it!

Love it...what an awesome idea! Will definitely be trying this!
ReplyDeleteSuper cool... thank you!
ReplyDelete